相信不少码农做过api的开发, 可能好不容易完成功能后, 满以为可以悠哉了去看妹子, 结果经理来了一句 把api文档也写了吧。 wtf! 最讨厌写文档了, 然后又打开代码, 慢慢的一个一个对照写文档, 质量可想而知。
前段时间罗飞老师在讲api分层构建的时候提到开发api的几个方面, 其中一个就是API文档自动生成机制, 试想如果在编写代码的同时,可以直接通过某种方式把这个api也描述清楚, 最终只要执行某个脚本就可以自动生成api文档, clean and fast~
php-apidoc就是这样一个自动化的api生成工具, 使用php编写, 只需要在方法的注释里加上相应的规则即可, 原理是通过php的反射机制动态获取annotation, 然后做相应处理.
##安装
推荐使用composer安装, 把下面的代码加入到 composer.json 中, 同时为了测试 另外在项目根目录下 建立一个src目录, 里面放一个 user.php 文件 采用psr-4加载。 所以最终 composer.json 代码如下。
1
2
3
4
5
6
7
8
9
10
| {
"require": {
"crada/php-apidoc": "@dev",
"autoload": {
"psr-4": {
"Acme\\": "src/"
}
}
}
}
|
执行 composer update 即可
##使用
假设我们要开发一个 user 的api接口, 使用rest风格, 对应的crud方法如下:
1
2
3
4
5
6
7
8
9
10
11
12
13
14
15
16
| <?php
class User
{
//用于获取id为$id的用户信息
public function get($id) {}
//创建用户
public function create() {}
//更新用户
public function update() {}
//删除用户
public function delete() {}
}
|
然后准备一个入口文件作为执行脚本, 这里建立一个 index.php 文件
1
2
3
4
5
6
7
8
9
10
11
12
13
14
15
16
17
18
19
20
21
| <?php
use Crada\Apidoc\Builder;
use Crada\Apidoc\Exception;
require "vendor/autoload.php";
$classes = array(
'Acme\\User'
);
$ouput_dir = __DIR__ . '/apidocs';
try {
$builder = new Builder($classes, $ouput_dir, '接口文档V1.0', 'api.html');
$builder->generate();
} catch (Exception $e) {
echo "error ", $e->getMessage();
}
|
执行后 在apidocs目录下回生成一个api.html 访问如图:
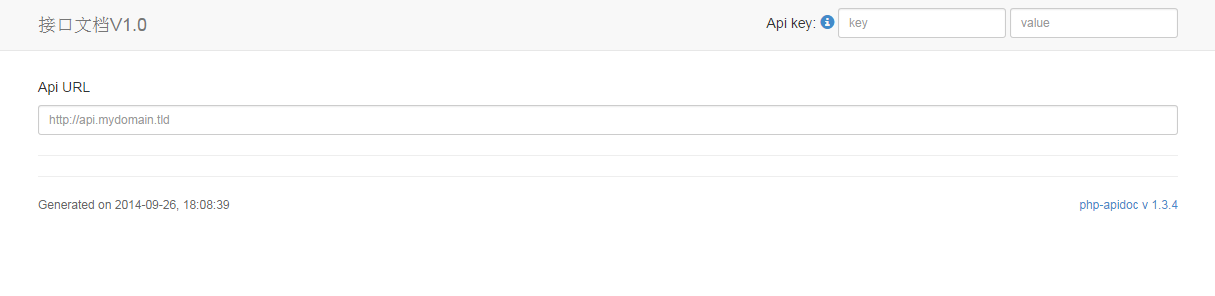
api方法怎么木有? 这不是坑爹吗。。
别急, 接下来我们来开始写api对应的方法。
官方提供的一些方法如下
@ApiDescription: 定义某个接口的描述 其中 section 参数作为分组, description 作为描述
@ApiMethod: 定义接口的请求方法, 参数为type, 可选值有 get|post|put|delete
@ApiRoute: 定义接口请求地址 参数为name
以上三个为必填项
接下来有一些可选方法
定义请求参数: @ApiParams(name="...", type="...", nullable=..., description="...", [sample=".."])
定义请求头: @ApiHeaders(name="...", type="...", nullable=..., description="...")
定义响应头: @ApiReturnHeaders(sample="...")
定义响应结果: @ApiReturn(type="...", sample="...", [description="..."])
其中参数的type类型可以是 'object', 'array(object) ', 'array', 'string', 'boolean', 'integer', 'number'
1
2
3
4
5
6
7
8
9
10
11
12
13
14
15
16
17
18
19
20
21
22
23
24
25
26
27
28
29
30
31
32
33
34
35
36
37
38
39
40
41
42
43
44
45
46
47
48
49
50
51
52
| <?php
namespace Acme;
class User
{
/**
* @ApiDescription(section="User", description="获取用户信息")
* @ApiMethod(type="get")
* @ApiRoute(name="/user/get/{id}")
* @ApiParams(name="id", type="integer",nullable=false,description="用户id")
* @ApiParams(name="data", type="object",sample="{'user_id': 'int', 'user_name':'string','profile':{'email':'string','age':'integer'}}")
* @ApiReturnHeaders(sample="HTTP 200 OK")
* @ApiReturn(type="object", sample="{
* 'transaction_id' : 'int',
* 'transaction_status': 'string'
* }")
*/
public function get() {}
/**
* @ApiDescription(section="User", description="创建用户")
* @ApiMethod(type="post")
* @ApiHeaders(name="header_key", type="string", nullable=true, description="test_header_key")
* @ApiRoute(name="/user/create")
* @ApiParams(name="username", type="string", nullable=false, description="用户名")
* @ApiParams(name="email", type="string", nullable=false, description="邮箱")
* @ApiParams(name="password", type="string", nullable=false, description="密码")
* @ApiParams(name="age", type="integer", nullable=true, description="年龄")
* @ApiReturn(type="object",sample="{'user_id':'int','profile':{'email':'string','age':'integer'}}", description="用户信息")
*/
public function create() {}
/**
* @ApiDescription(section="User", description="更新用户")
* @ApiMethod(type="put")
* @ApiRoute(name="/user/update")
* @ApiParams(name="id", type="integer", nullable=false, description="用户ID")
* @ApiReturn(type="boolean",sample=true, description="用户更新结果")
*/
public function update() {}
/**
* @ApiDescription(section="User",description="删除用户")
* @ApiMethod(type="delete")
* @ApiRoute(name="/user/delete")
* @ApiParams(name="id", type="integer", nullable=false, description="用户ID")
* @ApiReturn(type="boolean",sample=true, description="用户删除结果")
*/
public function delete() {}
}
|
再次执行 php index.php 我们发现已经有对应的api方法了
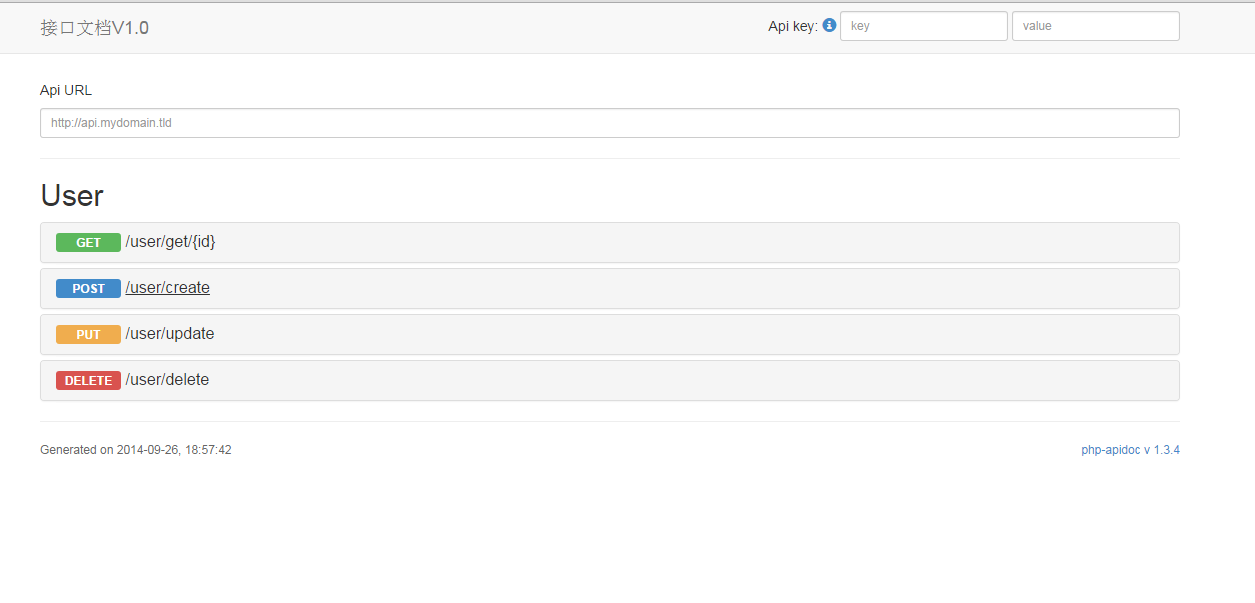
界面还是挺美观的, 不同的请求也有不同的着色。
打开每个单独的请求都会有三个tab标签
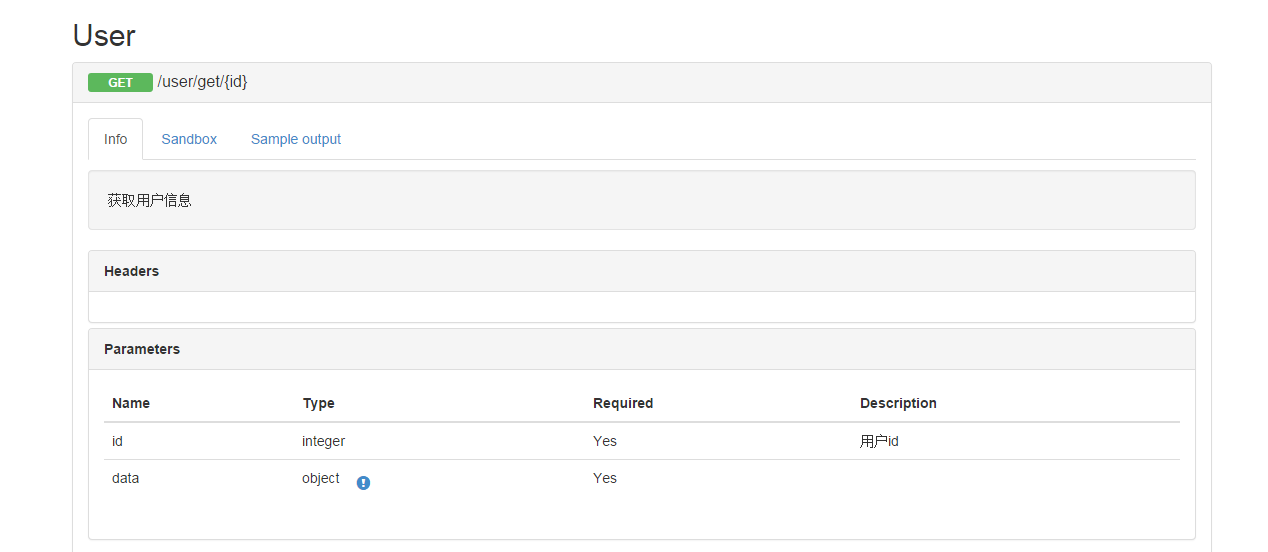
第一个info主要是接口的一些请求信息。
第二个sandbox提供了一个测试的功能 我们可以在上方的Api Url里面填上对应的测试url, 然后在sandbox里填入测试参数 点击send即可看到返回结果
第三个主要是一些样例的返回信息
至此介绍结束。 我觉得对于码农来讲, 在遇到繁杂的事物时, 要学会思考, 怎么样才能更快更高效的完成任务, 要遵循KISS原则。 有时候学会偷懒也是一种能力。